Create your own Tour #
This is a new feature and is being extended as an open beta for the next few weeks. To send us feedback, please submit a ticket via Zendesk with the “Community Tours” category.
Getting started #
You can start creating your own Tour by opening the Tour creation Tool now available via the OnAir Companion website: https://companion.onair.company/tours
Use your usual OnAir account to login and start creating a Tour.
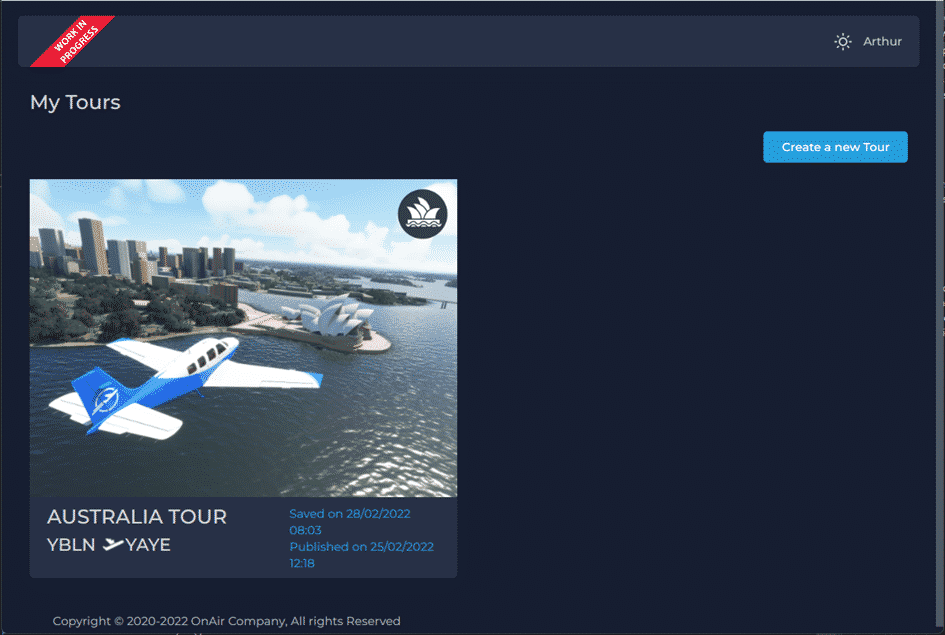
This page displays a list of all your Tours, you can create one by clicking the “Create a new Tour” button in the top right corner.
A Tour is composed of both a Main Trip and several Sightseeing jobs. Each Sightseeing job includes “Points of Interest” (or POIs) that you define.
Tour properties #
When creating a new Tour, you will first need to fill out its properties.
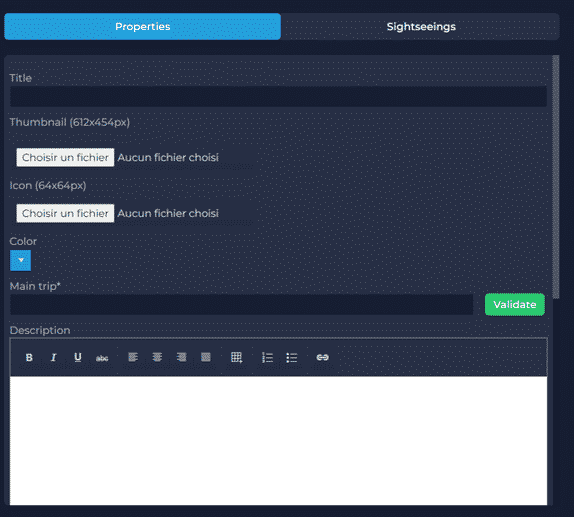
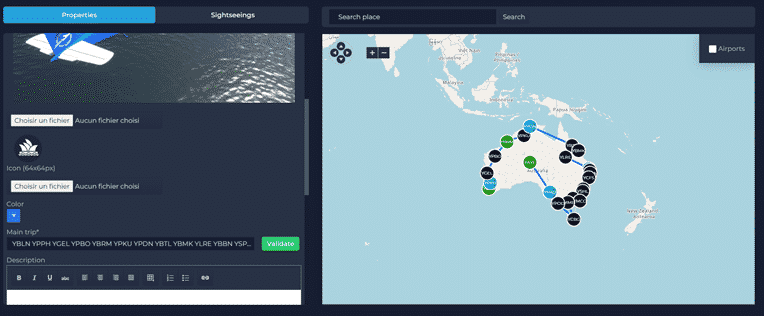
The Main trip must contain a list of ICAOs separated with space. You can confirm your Main trip is valid by clicking the “Validate” button. Each airport referenced need to be present in OnAir database for it to work. Below is an example of how a fully designed trip will be shown in the list:
When the Main Trip is validated, it will appear on the map, so you can check the waypoints/ICAOs you indicated fit with your expectations.
Sightseeing jobs #
You can create several Sightseeing jobs along your Main Trip.
To do so, go to the “Sightseeing jobs” tab and click the “Create a sightseeing job”
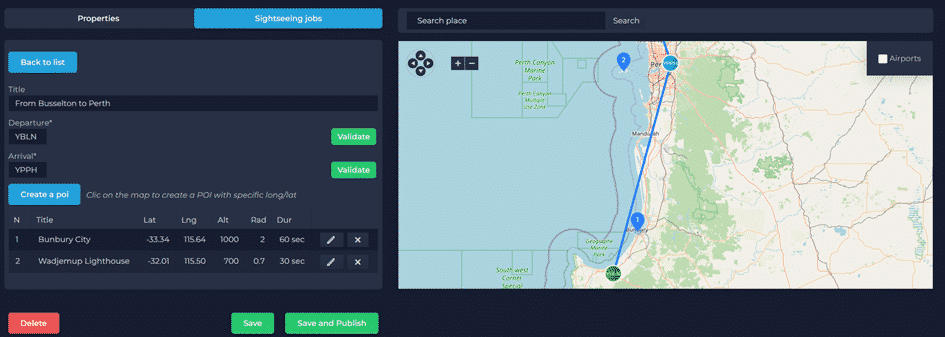
You can add a POI to the Sightseeing job by left clicking on the map at the location of the POI you wish to add.
You can configure the Title, required maximum altitude, maximum distance radius and duration to for each POI.
Beta testing your Tour #
To test your Tour in OnAir, save it using the “Save” button.
Once it is saved, it will appear in the main OnAir client “Business > Activities” page with a “Draft” banner across it as demonstrated in the below image.
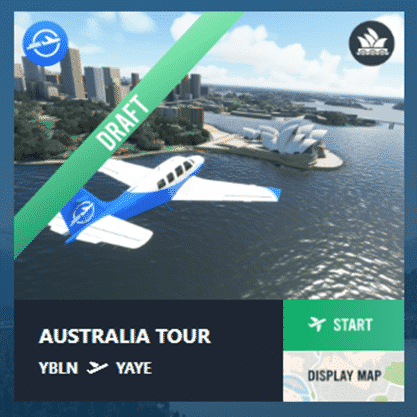
A Draft Tour will only be visible to its author until it is publish it by clicking the “Save and Publish” button.
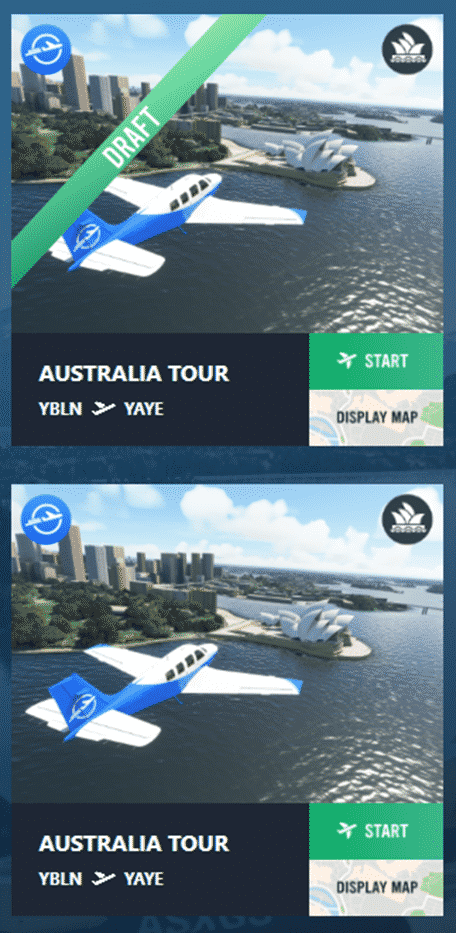
Publishing your Tour to the Community #
Click the “Save and Publish” button and your Tour will be accessible to the whole OnAir Community in the “Business > Activities” page.
As the author, you will have access to both Draft and Published version of your Tour so you can continue working on it in the future. If you choose to publish a new version of your Tour, users already flying the Tour will not get your update unless they abandon and restart the Tour.
What’s next #
We are already planning to add the following features in upcoming updated:
- Commenting
- Rating
- More metadata to filter
- More job types
We will take in account any feedback submitted via Zendesk tickets during the beta including potential additional features that could be added to this list.


